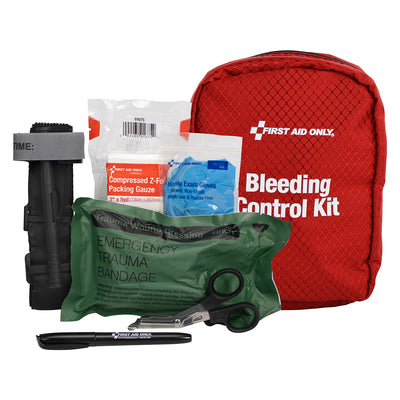
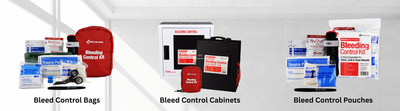
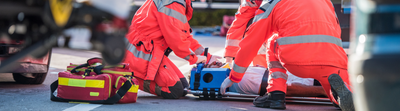
Uncontrolled bleeding is the leading cause of preventable death after a traumatic injury. It can happen anywhere: a workshop accident, a car crash, a hunting trip, a mass-casualty event. A person with a severe limb injury can lose their entire blood volume in under five minutes, often faster than an ambulance can arrive. A tourniquet, applied correctly and fast, is one of the few things a bystander with no medical training can do that reliably stops that clock. This guide walks through exactly how to apply a CAT (Combat Application Tourniquet), the same windlass-style tourniquet issued to U.S. military combat medics and taught in Stop the Bleed courses nationwide. It also covers when to reach for one, the mistakes that cost people time, and how it compares to the other tourniquet styles we carry.
Quick Answer: How to Apply a Tourniquet
- Place it 2 to 3 inches above the wound, never directly over a joint.
- Pull the band tight and secure it.
- Twist the windlass rod until the bleeding fully stops.
- Clip the rod in place and secure the retention strap.
- Write down the application time and get the person to emergency care right away.
Full step-by-step instructions, common mistakes, and product comparisons are below.
Why Bleeding Control Skills Matter
Hemorrhage remains the most common preventable cause of death following traumatic injury, according to a 2023 epidemiological review published in Prehospital and Disaster Medicine. Patients with life-threatening hemorrhage can lose their entire circulating blood volume in under five minutes. That's often well before EMS arrives on scene, let alone reaches a hospital. This gap between injury and professional care is exactly why the national Stop the Bleed campaign, launched by the U.S. Department of Homeland Security in 2015, trains ordinary bystanders to control severe bleeding. It's the same idea as CPR training for cardiac arrest: teach the skill to the people who'll actually be standing there when it happens.
Despite that, Stop the Bleed training is still far less common than CPR training. That's a real gap between how often severe bleeding happens and how many people know what to do about it. Knowing how to use a tourniquet correctly, and having one within reach, closes that gap for the people around you.
Outfitting a School, Team, or Facility? Let's Build Your Bleeding Control Order.
Request a Bulk QuoteWhen to Use a Tourniquet
Reach for a tourniquet when someone has severe, life-threatening bleeding from an arm or a leg: bleeding that's spurting, pooling rapidly, or hasn't stopped after direct pressure. Tourniquets are for limb wounds only. They aren't used on the head, neck, chest, or abdomen, and not directly on a joint either, since there's no way to compress the blood vessel against bone in those spots. For those wounds, or for limb bleeding when a tourniquet isn't yet in hand, apply firm, direct pressure with a dressing or even a bare hand while someone else retrieves a tourniquet or calls 911.
If you're not sure whether a wound is bad enough to need a tourniquet, err on the side of using one. A properly applied tourniquet causes real but temporary discomfort; uncontrolled arterial bleeding is fatal in minutes. When in doubt, stop the bleeding first and let a medical professional evaluate the wound later.
Am I Protected If I Help?
Good Samaritan laws exist in all 50 states and generally protect bystanders who act in good faith to control severe bleeding from civil liability. A 2024 review in Prehospital and Disaster Medicine found that no state's Good Samaritan law explicitly excludes bleeding control, and Oklahoma's law names it directly. That protection isn't unlimited. Courts have found that reckless or grossly negligent aid falls outside it, so the safest approach is simple: use the technique you were taught, don't improvise past it, and get the injured person to professional care as soon as the bleeding is under control.
How to Apply a CAT Tourniquet: Step by Step

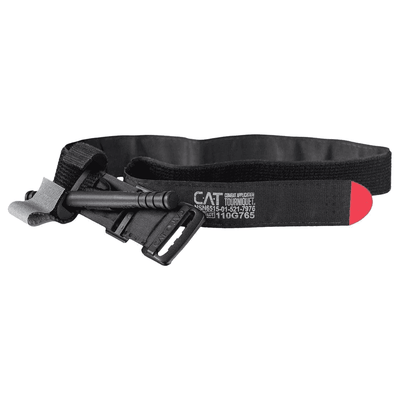
The CAT Tourniquet Gen 7 is a one-handed, windlass-style tourniquet built for both self-aid and buddy-aid.
The CAT is a windlass tourniquet: a wide self-adhering band that cinches the limb, tightened the rest of the way by twisting a rigid rod until the bleeding stops, then locked in place. The U.S. Department of Homeland Security's Stop the Bleed program teaches the same core sequence for any windlass tourniquet. Remember it as pull, twist, clip:
- Expose the wound. Move or cut away clothing so you can see exactly where the bleeding is coming from.
- Position the tourniquet. Place it 2 to 3 inches above the wound, between the wound and the heart, directly on the skin if possible. Never place it directly over a joint like a knee or elbow; move it slightly higher if needed.
- Pull it tight. Thread the band through the buckle and pull the free end as tight as you can before fastening it back on itself.
- Twist the windlass rod. Keep twisting until the bleeding fully stops, not just slows. This is the step people stop too early on; full stop, not reduced flow, is the goal.
- Clip the rod in place using the windlass clip so it can't unwind, then secure it with the retention strap.
- Write down the time. Every tourniquet has a strap for this. Note the exact time it went on, since medical personnel use this to manage the wound safely once they take over.
- Leave it in place. Don't loosen or remove a tourniquet once it's on. That's a decision for a medical professional, not the person who applied it.
If the bleeding hasn't stopped after the first tourniquet is fully tightened, military and civilian protocols agree on the same fix: apply a second tourniquet side-by-side with the first, positioned closer to the heart.
Applying a Tourniquet to Yourself
The CAT was designed around a real problem: an injured person is often the only one who can act in the first seconds after a wound happens. Its buckle and windlass system is built for one-handed use, so you can pull, twist, and clip it on your own arm or leg without needing a second person. If you're alone when a severe limb injury happens, don't wait for help to arrive. Apply the tourniquet yourself using the same steps above, then call 911 or get to help as soon as it's secure. If someone else is available, buddy-aid (applying it to another person) uses the identical technique. The only real difference is whose limb you're working on.
Common Mistakes to Avoid
- Stopping at "slower" instead of "stopped." A tourniquet that reduces bleeding but doesn't eliminate it isn't done. Keep twisting until there's no more active bleeding.
- Applying it too loosely, "just in case it hurts less." A loose tourniquet can make bleeding worse by blocking vein return without stopping arterial flow. It's supposed to hurt; that's a sign it's tight enough to work.
- Placing it on or below a joint. A tourniquet can't compress blood vessels against a joint the way it can against a long bone. Move it a few inches higher instead.
- Loosening it to "check" on the bleeding. Once it's controlling the bleeding, leave it alone. Reassessing is a job for trained medical personnel, not a periodic loosen-and-look.
- Not having one within reach. The best tourniquet technique in the world doesn't help if the tourniquet is in a first aid kit two rooms away. Vehicles, classrooms, workshops, and job sites all benefit from a tourniquet staged somewhere it can be reached in seconds.
How Long Can a Tourniquet Stay On?
Once you've stopped the bleeding, removal isn't something to handle yourself. Get the injured person to emergency care as fast as possible and let medical professionals take it from there. The reason every tourniquet has a spot to write down the application time is that duration matters. The Department of Defense's Joint Trauma System notes that extremity tourniquets used during the Iraq and Afghanistan conflicts caused no significant limb damage, largely because evacuation times were typically short, generally one to two hours or less. In settings with much longer evacuation times, prolonged tourniquet application has been linked to serious complications, including limb loss. The lesson for a civilian bystander is simple: apply it correctly, record the time, and treat "get this person to a hospital" as the very next step, not an optional one.
Choosing the Right Tourniquet: CAT vs. SWAT-T vs. Windlass
We carry three tourniquet styles, and each has a real use case:
CAT Tourniquet Gen 7: the standard windlass tourniquet issued to U.S. combat medics and taught in most Stop the Bleed courses. One-handed application, a proven track record, and it's the tourniquet most first responders will recognize on sight. This is the right default choice for a vehicle kit, a classroom, or an individual carry pouch.
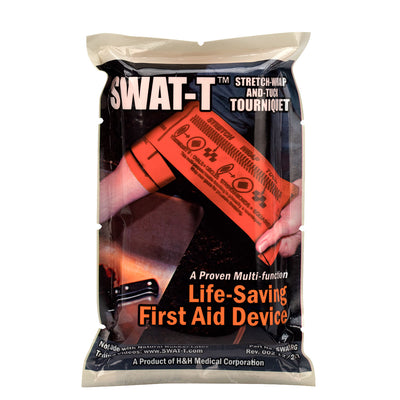
SWAT-T Tourniquet: a flat, stretchable elastic band with no moving parts. It doubles as a pressure dressing or wrap, works on limbs a windlass tourniquet may not fit well, and never wears out mechanically since there's nothing to break. The tradeoff is that it takes more practice to apply correctly than a windlass design.
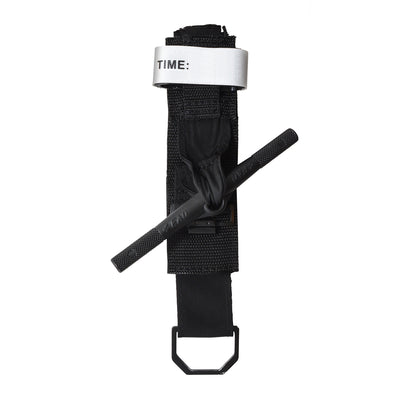
Windlass Tourniquet: a lower-cost windlass-style option built on the same pull-twist-clip mechanics as the CAT. A practical choice for stocking multiple kits or vehicles without the premium price of a combat-issue tourniquet.
For most households, vehicles, and workplaces, one CAT Tourniquet Gen 7 per kit is the safest default. It's what most bystanders and responders are already trained on. Facilities standardizing across many kits at once often mix in the lower-cost Windlass Tourniquet for secondary or backup placement.
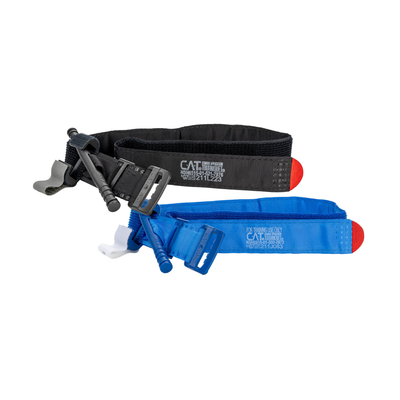
New to tourniquet use? Practice on the CAT Tourniquet Gen 7 Trainer Bundle, which pairs a full-strength, real-use tourniquet with a dedicated blue practice tourniquet. That way you can build muscle memory without using up the one you'd actually deploy in an emergency.
Get Trained, Then Get Equipped
Reading this guide is a starting point, not a substitute for hands-on practice. Many local fire departments, hospitals, and community organizations offer free or low-cost Stop the Bleed courses, typically under two hours, that let you practice this exact sequence under supervision. Pair that training with a tourniquet staged somewhere you can actually reach it in an emergency. A kit in a drawer three rooms away doesn't help anyone.
Sources: U.S. Department of Homeland Security: Stop the Bleed · American Red Cross · DoD Joint Trauma System · Jones et al., Prehospital and Disaster Medicine, 2023 · Bleeding Control Protections Within US Good Samaritan Laws, Prehospital and Disaster Medicine, 2024
For the laws and compliance side of bleeding control, including which states require it and where, see our Bleeding Control Kits: Laws, Compliance & Requirements guide. Shop the full Bleeding Control Kits collection or browse the broader Trauma & Bleeding Control Kits hub at Safety Kits Plus.